 By pedicurekitchannel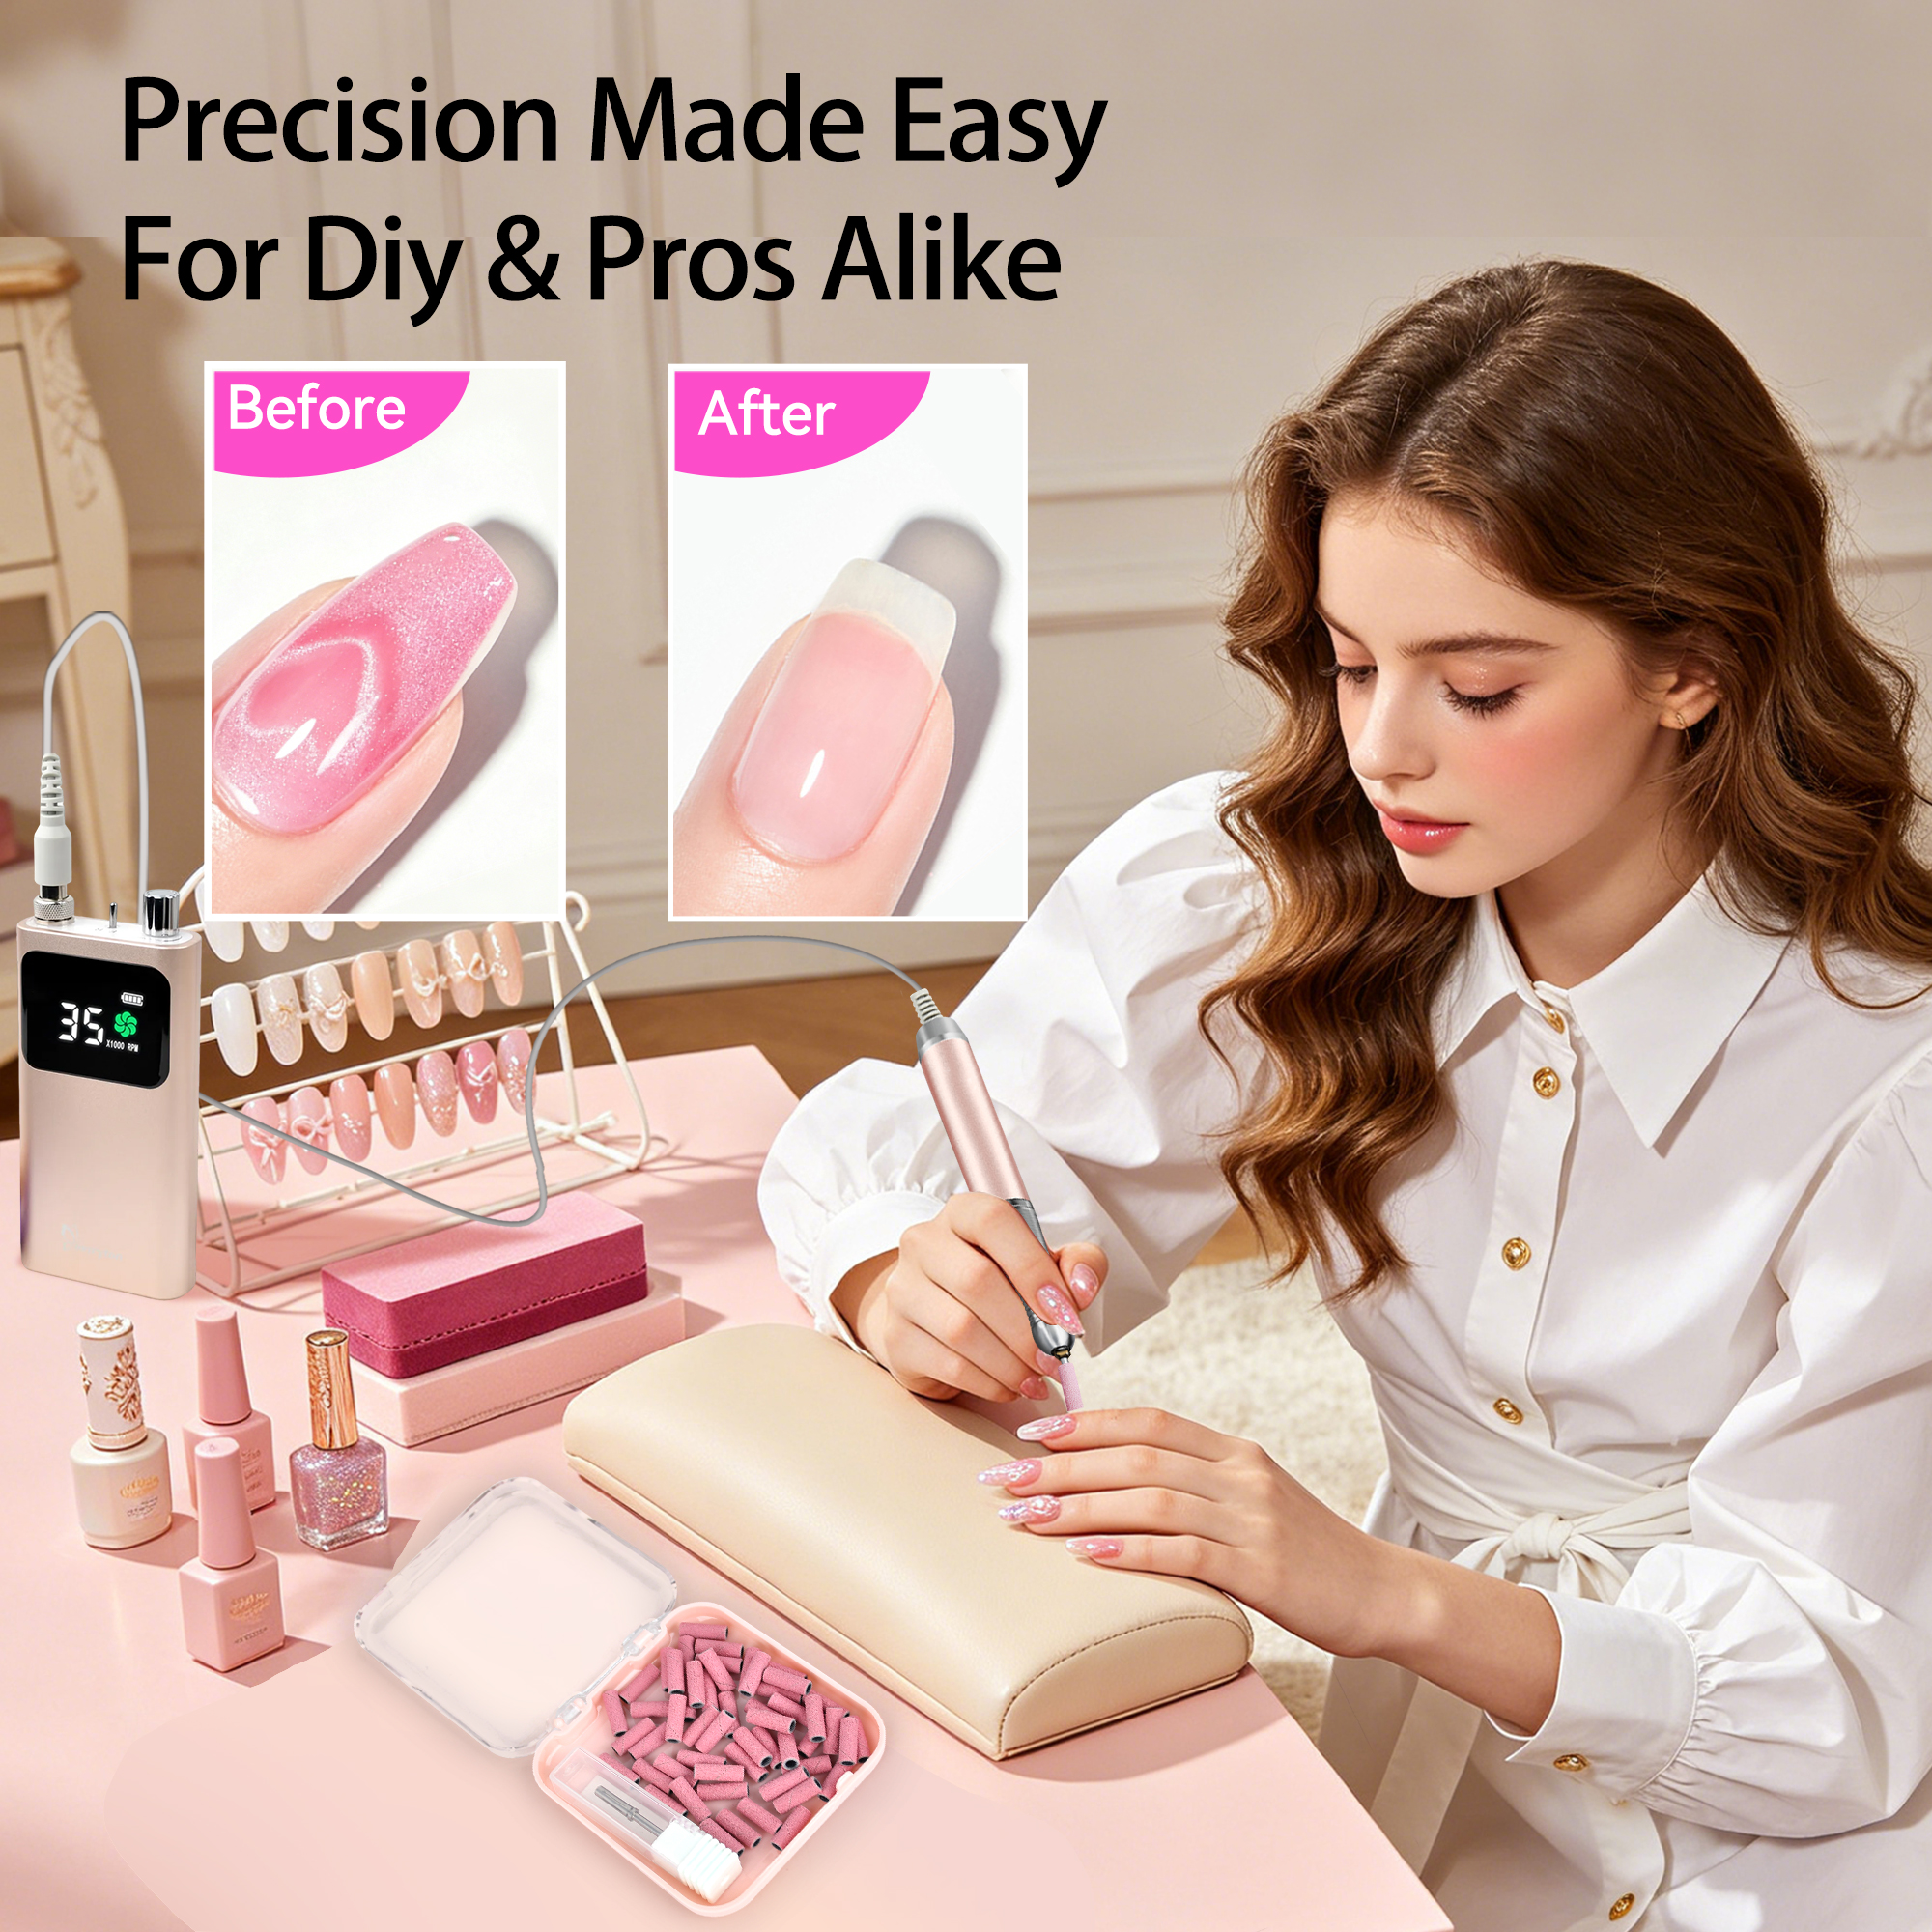
Sanding bands are small, cylindrical abrasive sleeves that fit onto a mandrel bit for an electric nail file. They are one of the most versatile and cost-effective tools in nail and foot care. Whether you are a professional technician or someone who does their own nails at home, choosing the right sanding bands can make the difference between a smooth, efficient service and a frustrating, damaging one.
Here is everything you need to know about why sanding bands matter, how they compare to buffer blocks, what to look for in a quality band, and how to use them like a professional.
Why Sanding Bands Are Essential in Nail and Foot Care?
Sanding bands are essential because they combine speed, precision, and hygiene in a way that manual tools cannot match. An electric file with a sanding band can shape, smooth, and refine nails in a fraction of the time it takes with a hand file. This saves time for professionals and reduces hand fatigue during longer sessions.
They are also incredibly versatile. With different grits, the same tool can remove gel polish, shape acrylic extensions, smooth calluses, clean sidewalls, and prepare the natural nail plate for polish or gel. A single mandrel and a set of bands can replace several manual files and buffers.
Hygiene is another major advantage. Sanding bands are disposable. You use one band per client or per session and then discard it. This eliminates cross-contamination between clients. Unlike metal bits that must be cleaned and sterilised, sanding bands are a simple, single-use solution that meets strict sanitation standards.
Finally, sanding bands are beginner-friendly. A fine-grit band behaves like a familiar hand file, but with the speed and control of an e-file. This makes them ideal for new technicians who are learning to use an electric file safely.
Sanding Bands vs. Buffer Blocks: Key Advantages
Buffer blocks are rectangular foam or plastic blocks coated with abrasive material. They are useful for manual filing, but they have limitations that sanding bands overcome.
Speed and efficiency. Buffer blocks require manual effort. You have to move the block back and forth, which is time-consuming and tiring. A sanding band on an e-file does the work for you. It spins at high speed and removes material much faster.
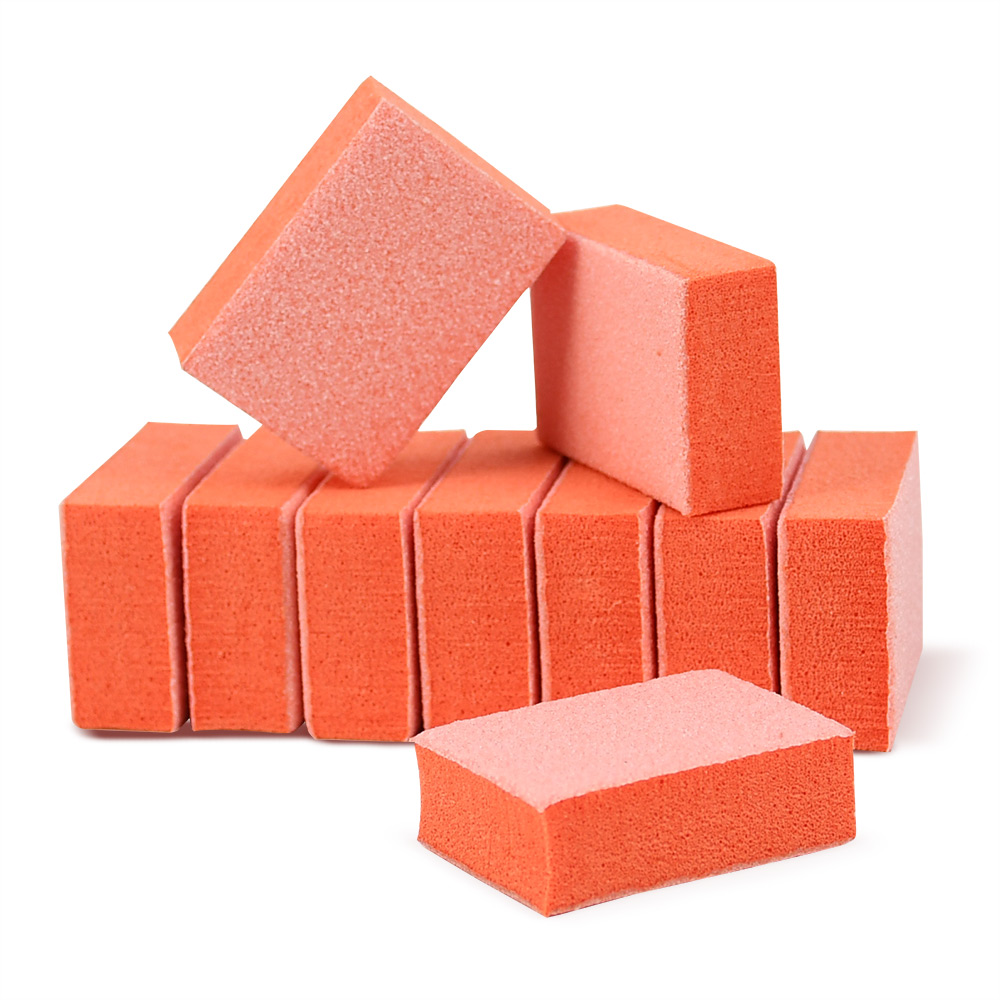
Access to tight areas. Buffer blocks are flat and bulky. They cannot reach the sidewalls, cuticle area, or small nail beds. Sanding bands are cylindrical and come in standard and mini sizes. The mini size is small enough to navigate tight curves and detailed areas without touching the surrounding skin.
Consistency. Manual filing with a buffer block depends on the pressure and angle you apply. It is easy to create uneven edges or over-file one spot. A sanding band provides consistent abrasion when used at the correct speed and with light pressure.
Hygiene. Buffer blocks are reusable. They can harbour bacteria and fungi if not properly cleaned. Sanding bands are disposable. You use one and throw it away, eliminating the risk of cross-contamination.
Versatility of grits. Sanding bands come in a wide range of grits, from coarse to extra-fine. You can switch from heavy removal to fine finishing by simply changing the band. Buffer blocks are usually limited to one or two grits per block.
What Makes a High-Quality Sanding Band?
Not all sanding bands are created equal. A high-quality band has several key characteristics.
Consistent grit. The abrasive particles should be evenly distributed. Cheap bands often have uneven grit, which causes vibration, skipping, and uneven filing. A good band cuts smoothly and predictably.
Durable abrasive. The abrasive material should last through a full service without wearing out. Low-quality bands lose their grit quickly and become smooth, which generates heat and reduces efficiency.
Secure fit. The band must fit snugly on the mandrel without slipping. A loose band wobbles, reduces control, and can fly off during use. A secure fit ensures smooth rotation and precise work.
Correct diameter. Standard sanding bands are about 12–13mm wide. Mini bands are about 8–9mm wide. Choose the size that matches your task. Mini bands are better for detail work. Standard bands are better for bulk removal on larger surfaces.
Compatible with your mandrel. Most sanding bands are designed for a 3/32-inch (2.35mm) mandrel, which is the industry standard. Check compatibility before buying. Some bands are designed for larger mandrels.
Good packaging and storage. Quality bands come in a sealed package or a storage container that keeps them clean and dry. Dust and moisture can degrade the abrasive over time.
Reliable brand. Choose brands that are known for consistency and quality, such as Maryton. Reviews from other technicians can help you avoid low-quality products that shed abrasive material or break easily.
-1024x1024.jpg)
How to Use Sanding Bands Like a Professional?
Using sanding bands professionally comes down to grit selection, speed, pressure, and technique.
Choose the right grit. For natural nails, use fine or extra-fine grit—180 to 240. For gel polish removal, use medium grit—120 to 150. For heavy product removal on acrylics or hard gels, use coarse grit—80 to 100. Never use coarse grit on natural nails.
Set the correct speed. For natural nail prep and cuticle work, use low speed—around 5,000 to 10,000 RPM. For gel removal, you can go slightly higher, but start low. High speed with light pressure is safer than low speed with heavy pressure.
Use light pressure. Let the band do the work. Pressing down creates friction, heat, and removes too much material. The goal is to glide the band across the surface, not to dig in.
Keep the band moving. Never hold the band in one spot for more than a second. Move it in smooth, overlapping strokes. This prevents heat spikes, grooves, and thinning of the nail plate.
Hold the band flat. For surface work, keep the band parallel to the nail plate. For sidewall work, angle it slightly so the side of the band contacts the area you want to clean. Do not use the tip to dig into the nail.
Work in one direction. Use gentle strokes from cuticle to free edge, or from sidewall to centre. Avoid sawing back and forth.
Replace bands often. Sanding bands are single-use. Once the abrasive wears down, it becomes less effective and generates more heat. Discard after each client or when the band feels smooth.
Clean your mandrel. The mandrel itself is reusable. Wipe it with a disinfectant wipe between uses to remove dust and product residue.
Common Mistakes to Avoid
Do not use coarse grit on natural nails. Do not press hard. Do not hold the band in one spot. Do not reuse disposable bands. Do not skip the dehydrating step after prep. Do not use a band on an infected or damaged nail without professional advice.
The Bottom Line
Sanding bands are a small investment with a big return. They save time, improve precision, and support better hygiene. They outperform sanding blocks in speed, access, consistency, and versatility. When choosing bands, look for consistent grit, durable abrasive, secure fit, and compatibility with your mandrel. Use them at the right speed with light pressure and constant motion. With the right bands and proper technique, you can achieve professional results in both nail and foot care. Your clients—and your hands—will thank you.
Read also: The Guide to Professional Manicure Kits: Why They Matter and How to Use Them